DISCLAIMER! This is a class 3B laser. Risk of permanent eye damage. Always use protective goggles. If you decide to build it, you do everything at your own risk.
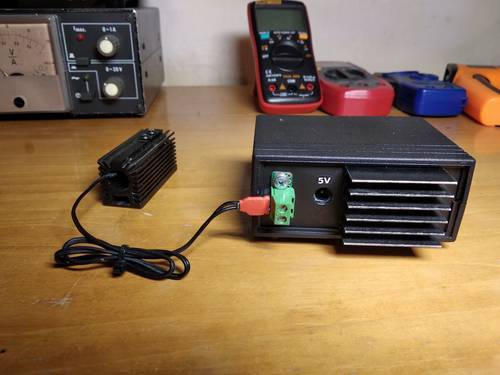
The current source is fairly simple and is built entirely from discrete parts. It's powering a Mitsubishi ML101U29 laser diode, which should output around 200 mW at 660 nm. The current is adjustable with a potentiometer.

Circuit diagram (click for full resolution)
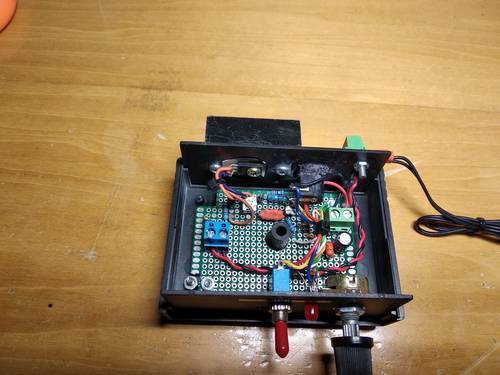
This device runs off a 5 volt power supply. There's a power switch (SW1) in series with the positive input. Capacitors C1, C2 are used for filtering. D1 is an indication LED, with a 2 volt drop and 1.8 kΩ series resistance, the current is around 1.7 mA. R5 is used as a current shunt. If the voltage on the base of Q1 exceeds about 0.6V, it starts to conduct, which decreases the voltage on the base of Q3, which drives Q2. This decreases the output current. The current is set with RV1. 3 diodes (D2-D4) maintain around 2 votls on RV1. The taper is connected through a 1.8 kΩ resistor to the base of the transistor Q1. R3 and R6+RV2 form a voltage divider. Depending on the position of RV1, the voltage drop on R5 is somewhere between 0 and approximately 0.9-1.05 V. The main disadvantage of this circuit is temperature stability - the current varies by around 6%/20°C.
The laser diode is fitted into the housing of a cheap adjustable 5 mW module. A heatsink is used, although it's a bit overdimensioned (the same thing can be said about the heatsink for Q2). To protect the diode from ESD, a resistor and a capacitor are connected in parallel with the diode (1 µF and 10 kΩ). There is also a diode (antiparallel) to prevent damage to the laser diode due to polarity reversal.
This laser can melt black plastics, ignite matches, etc.

Front side (click for full resolution)

Back side (click for full resolution)

Inside (click for full resolution)